making the star wars lightsaber invitation
I was inspired by Jennifer S on Catch My Party to make these. I love how the party info is printed right on the back. I made mine simpler in front, as I had a LOT to make. I
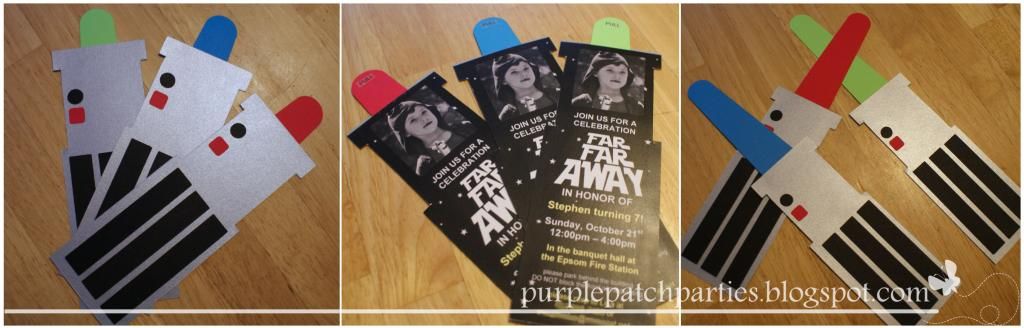
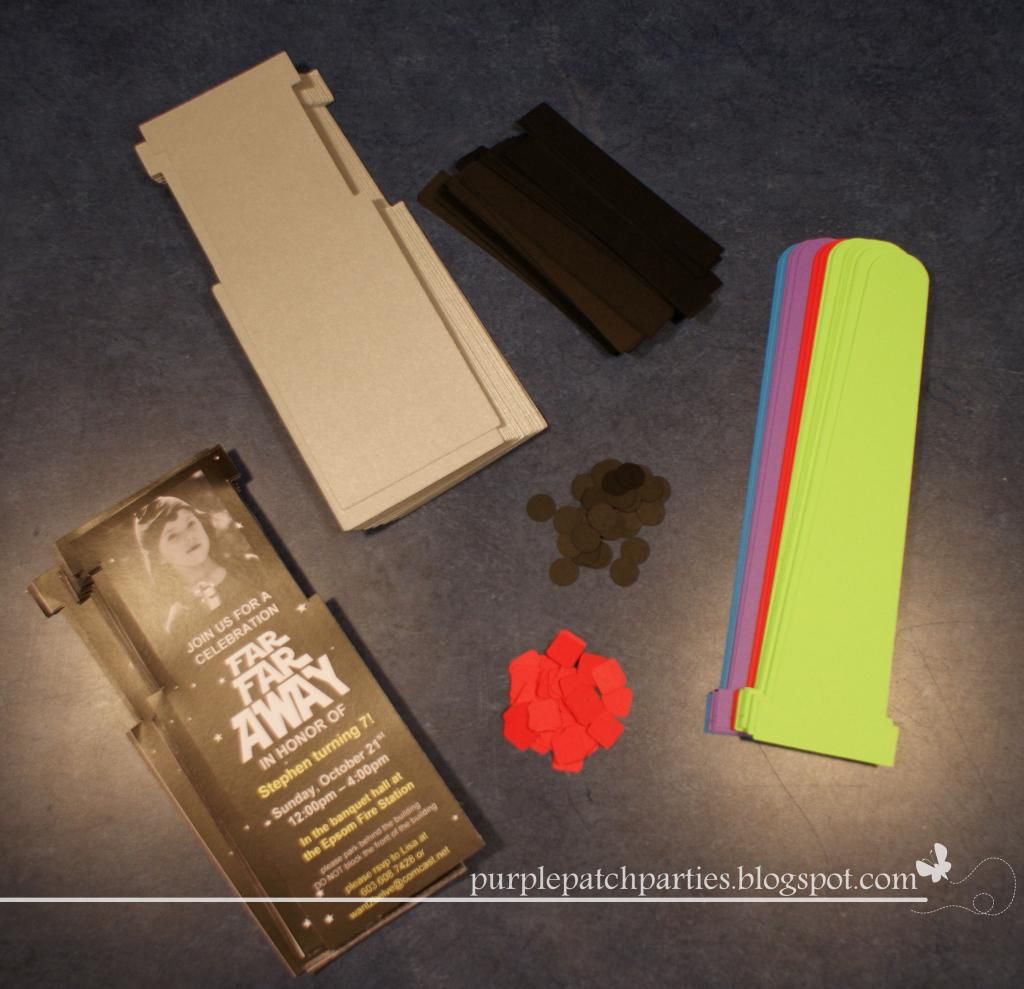
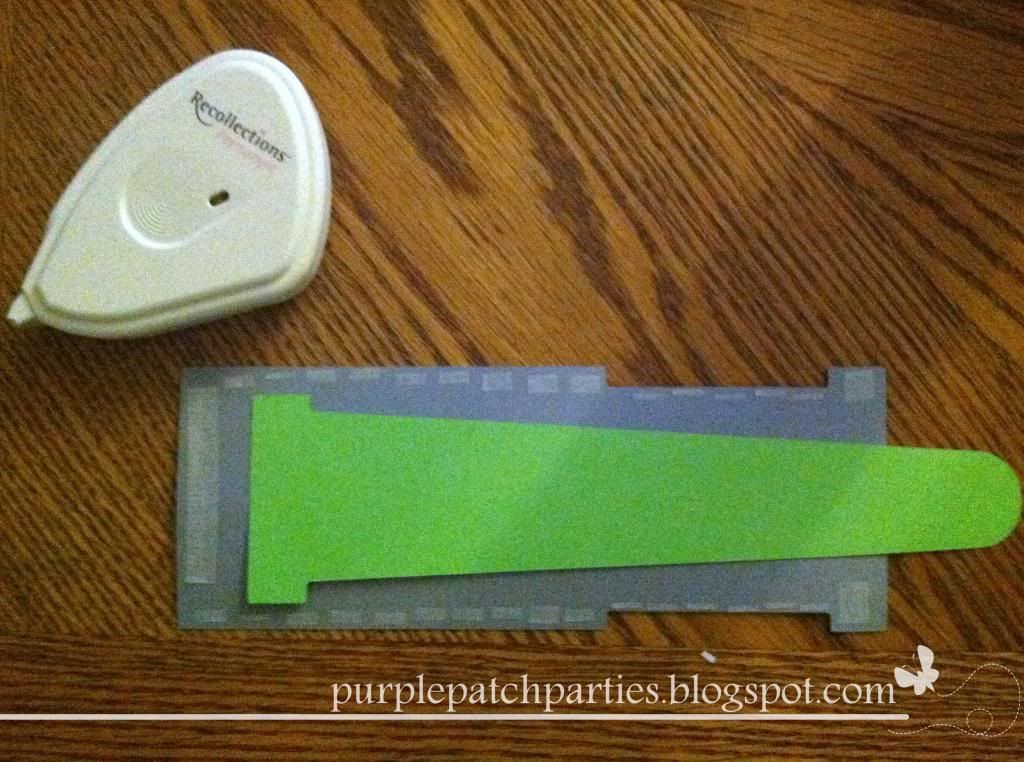
The front was cut from shiny silver card stock, the back printed on white card stock. (That fabulous photo was taken during Jedi Training at Disney's Hollywood Studios in Orlando over the summer!) The sabers were cut from blue, purple, red and green card stock. Even though these were cut on my Cricut (again, because there were a lot!), you could easily cut them by hand.
Once cut, I put double-sided tape (my favorite is the Recollections brand found at Michaels!) right up against the outer edge. I then laid the saber down inside the tape and then the backing, on the tape.
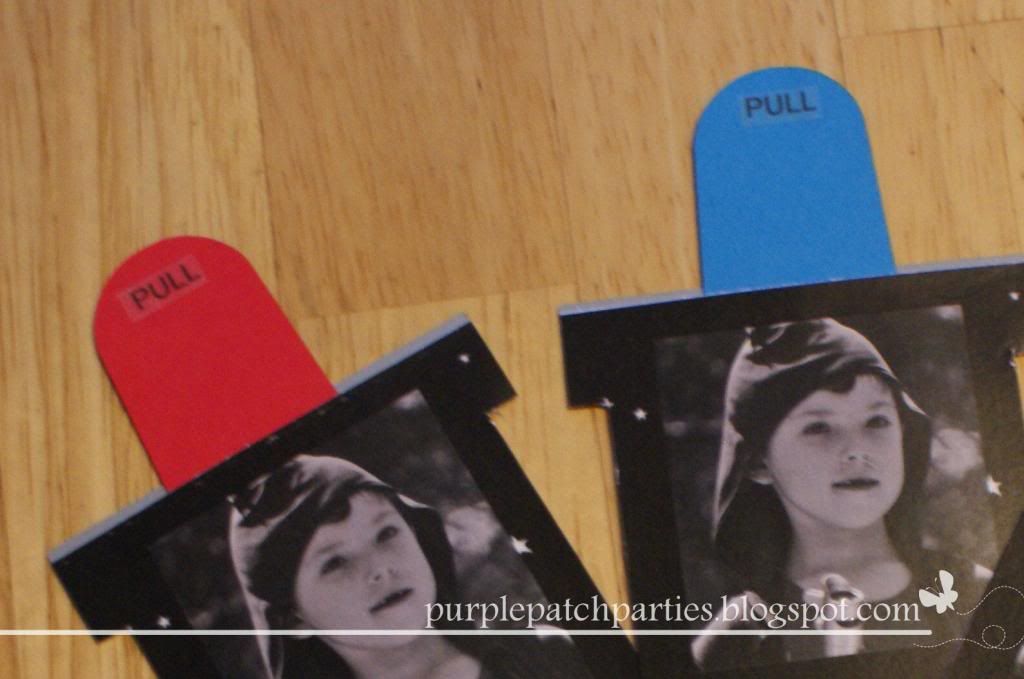
I used clear address labels to print the "pull" sticker. I made, probably, 12 or so "pull"s on one label and cut them out.
If you'd like to print the pieces to make your own lightsaber invitations, feel free! You know how I feel about free printables!
Silver handle. Remember, this is just the shape, you need to print it on your own silver cardstock.

Thank you for this!!! I've seen a lot of Star Wars parties online, but this is the best invitation ever--and thank you for the printable!! It's fabulous. Nice work on the entire party!
ReplyDeleteJennifer
You're welcome! Enjoy!
Deletedoes the light part catch up on the hand? Or is the handle basically a pocket? Sorry for the questions I'm just beginning the process to make these for my son's birthday
DeleteIt depends on where you put the double-sided tape. I put a little bit on the top of the handle and that stopped the light from sliding out.
DeleteMy son just asked for a Star Wars themed pary later this month. I will for sure making these invites!! Love. Thank you!!!
ReplyDeleteLOVE, LOVE, LOVE!!!
ReplyDeleteI GREATLY APPRECIATE you sharing. I was curious to whether or not you had to mail any invitations and if so what size of envelope did you use.
THANKS AGAIN!!!
Thanks! The handle is approximately 7 3/4" long, the light saber sticks out approximately 1/2". I used #8 envelopes (3 5/8 x 8 5/8) but you could also use regular #10 "business envelopes" that measure 4 1/8 x 9 1/2.
DeleteThank you again! They came out GREAT! I posted with a link to you!
ReplyDeletethanks for the printables! i am making the round light saber invitations and was dreading mailing them out in tubes. these are perfect for my out of town guests!
ReplyDeleteHow did you cut these using your Cricut? Thanks for sharing these. Such a time saver not to think it all out myself!
ReplyDeleteI use a program called "Sure Cuts A Lot 2" and import the .svg file.
Deleteim getting ready to make these. i recently got the cricut expressions 2, i havent used them yet....how do i setup it up to cut all this?
ReplyDeleteI use a program called "Sure Cuts A Lot 2".
ReplyDeleteI love these! Do you have these in SVG? When I download it is saving as a PNG and will not allow me to convert in order to open in SCAL. Thanks!
DeleteI don't have them available in .svg format. If you'd like to format them, you can use a free program called Inkscape. This website has a wonderful tutorial. http://www.positivelysplendid.com/2010/03/using-inkscape-to-easily-create-svg-files.html
DeleteHow do you add your own text to the back of the invitation download?
ReplyDeleteI used a photo editing software called Corel Paint Shop Pro. You could use Microsoft Word though. Insert the image, add a text box. Format the text box to be 100% transparent. Add your text.
DeleteI have added text to the back of the invitations but I am not sure how to create a file that the Cricut can cut from the Word file which has 3 images on it. Any advice? TIA!
ReplyDeleteI don't know of anyway to do that either. The ones with text, I cut by hand.
DeleteThank you so SO much for this! I used the outline you gave for the handle but cheated by adding in the lines and buttons by free hand (Yup, I cheated). I also just cut the laser free hand. Seriously, your invitation is so fun! So thanks again :D
ReplyDelete