Samantha's 3. I can hardly believe it. But, disbelief aside, it's party time! This year, it's Tinker Bell. Tinker Bell this, Tinker Bell that, so Tinker Bell party. Of course.
Choosing the pictures from our fairly successful photo shoot was probably the hardest part about making this invitation. There were just so many adorable ones. Of course, I'm bias.
See what I mean? *swoon*
I bought her GORGEOUS dress from Etsy seller
carriecreations. She even customized the colors to go with the party. It's just a beautiful dress!
the cake
The base is a 2-layered 12" cake, frosted in purple. The tree trunk is PVC wrapped in fondant. The top is a "bowl" cake (cake baked in a glass bowl), covered in fondant leaves. The Tinker Bell Fairy figurines were purchased at
The Disney Store. The wires they're hanging from are from Duff of
Charm City Cakes new cake supplie line. I got them at Michael's.
welcome to pixie hollow
Guests were greeted with a "dress-up" station when they arrived. The girls got fairy wings and wands, the boys got Peter Pan hats and knives. Everyone got a little sprinkle of pixie dust.
The wings and wands. We had 3 baby girls in attendance, they got mini wings and felt wands.
The Peter Pan hats and knives. Made entirely of felt, so no eyes got poked out. I found the tutorial for these at
Make It and Love It.
the food
Rosetta's Garden Cups, Caprese Toadstools, Ants on a Log
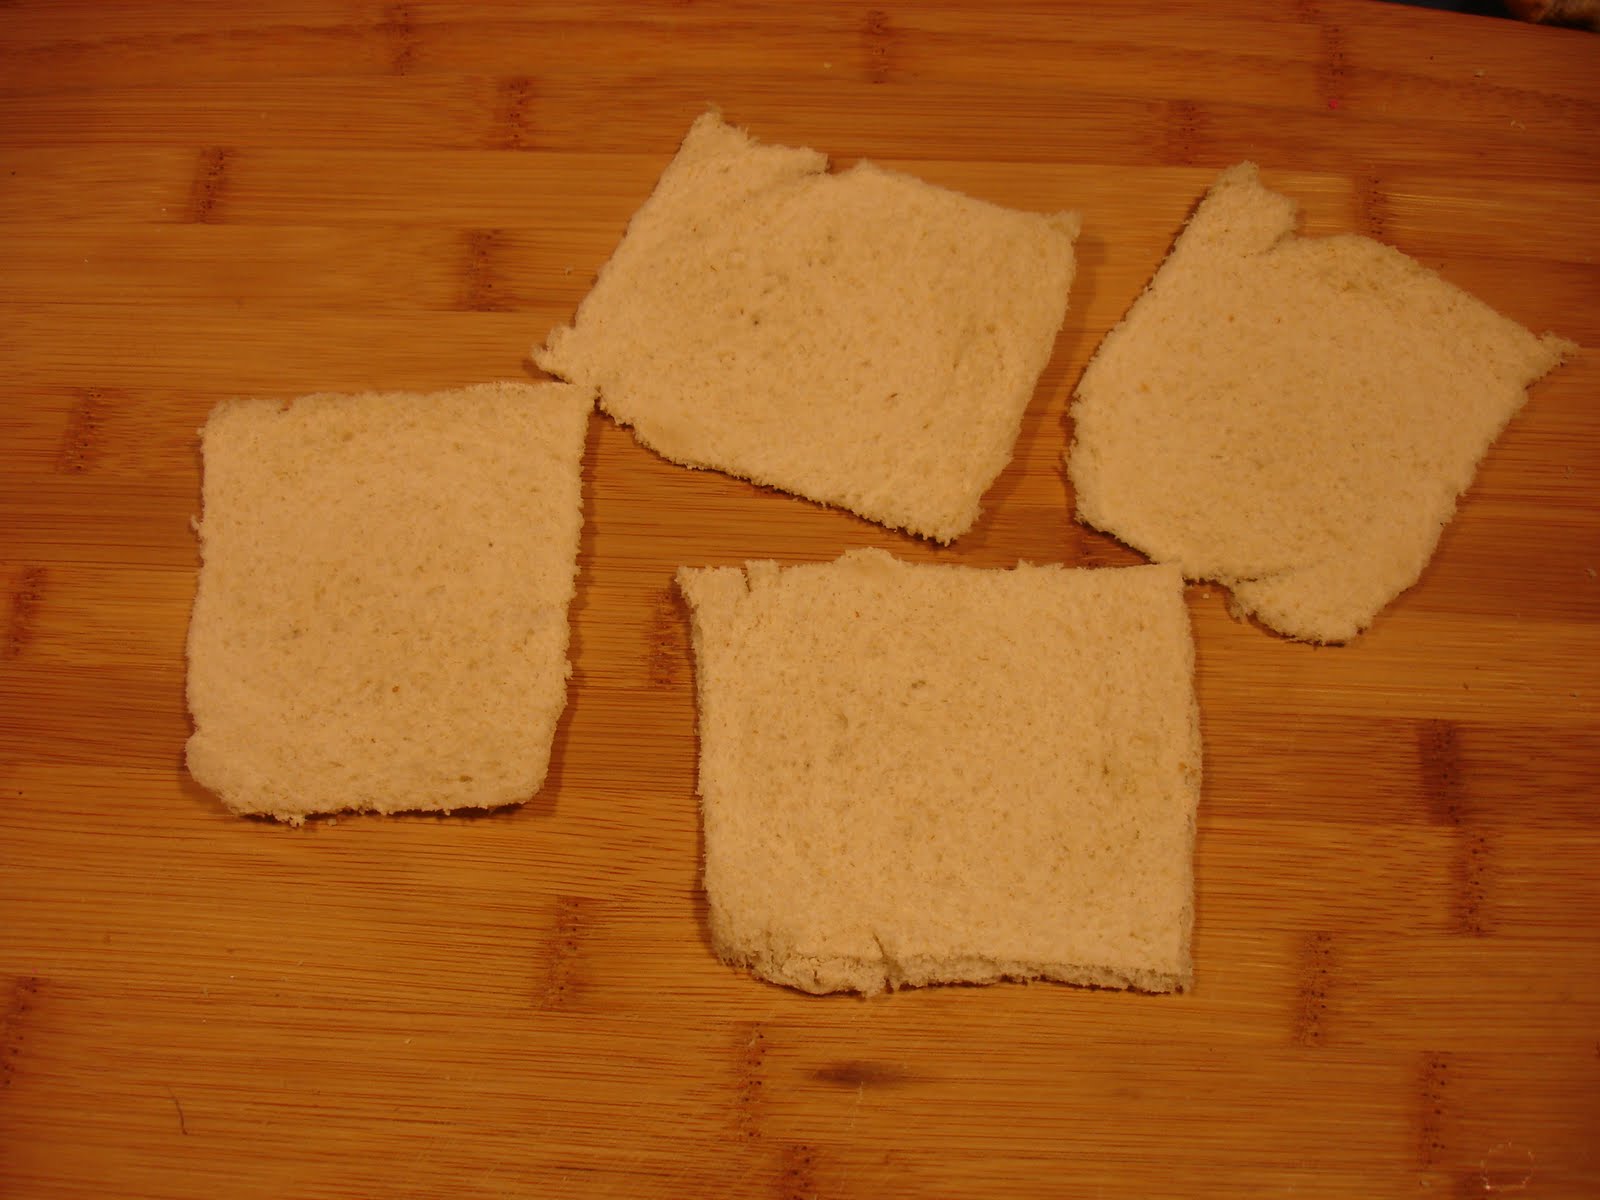
Peanut Butter Bumble Bees, Butterfly shaped sandwiches
Iridessa's Sunshine (lemon) Cookies, Fawn's Squirrel Snacks (acorns), Snail (sugar) Cookies
Meringue Mushrooms. There are lots of recipes for these online, but I used this one at
AllRecipes. I thought they were pretty easy to make and they were a HUGE hit! Everyone thought they were real.
Gummy Raspberries, Gummy Worms, Pirouline Cookies, Ladybugs. You can get the recipe for the Ladybugs here at
Taste of Home.
Silvermist's Dew Drops (meringue cookies), Fairy Berry Salad
Vidia's Twisters, Magic Wands, Pixie Punch
more diy party projects
These silhouettes were cut using my Cricut,
here's the .svg file for you to use!
No Cricut?
Here's the .jpg image that can be cut by hand.
Butterflies, flower centers, Peter Pan silhouettes all cut with Cricut.